Now that we have compiled the program, it can now be executed either on a CBE system or a simulation of a CBE system. In this case, we will use the IBM Full System Simulator for the Cell Broadband Engine as a simulation of a CBE system by starting the simulator, importing the program, and executing it.
- Create a private, non-root, simulator execution environment.
		mkdir sim
		cd sim
		cp /opt/ibm/systemsim-cell/run/cell/linux/.systemsim.tcl .
		export PATH=/opt/ibm/systemsim-cell/bin:$PATH
- Start the simulator with a graphical user interface:
systemsim -g
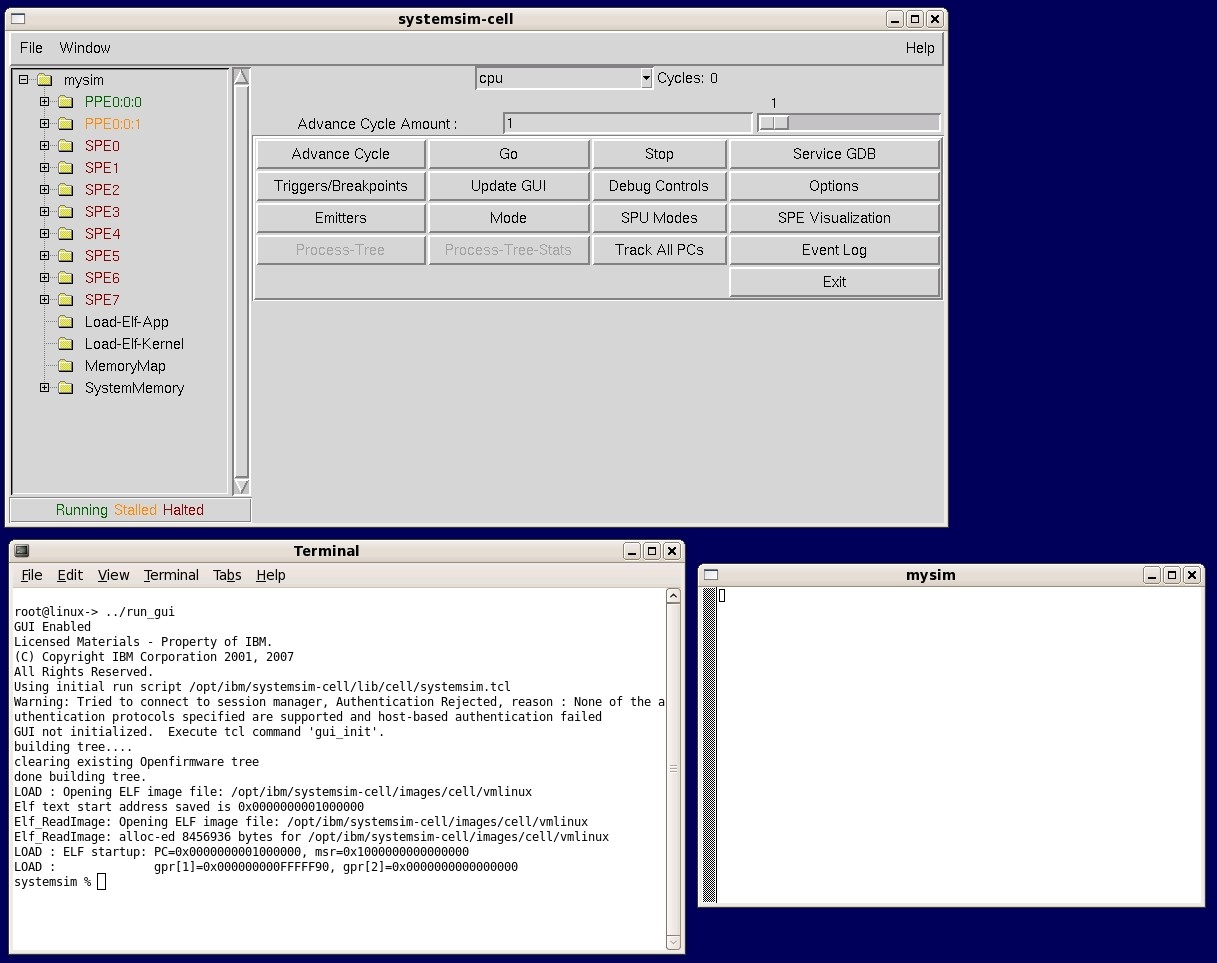
- Two new windows will appear on the screen. The first is a command-line/console
window labeled mysim in the window's title bar. The second
is the simulator graphical user interface (GUI) window. These windows are
shown in Figure 1.
The window labeled mysim is an uart window that, when Linux boots, it becomes a Linux console window. When the console window first appears, it is empty and there is no user prompt, because Linux has not yet been booted on the simulated system.
The window in which the simulator was started (systemsim -g) is the simulator command-line window.
- Boot the Linux operating system on the simulator by clicking the Go button
on the graphical user interface (GUI). To make the simulator run "quickly",
click the Fast Mode button prior to Go.
This forces the simulator to bypass its standard analysis and statistic collection
features. The console window will begin to display the Linux booting process.
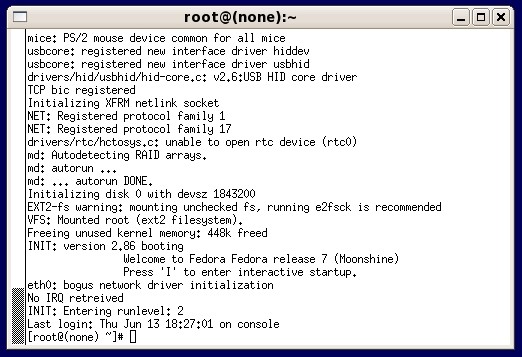
When Linux has finished booting on the simulator, a command prompt will be
visible in the window. Figure 2 shows the window
on completion of the boot process.
The simulator is now ready to import the sample program into its environment. Before doing that, however, you can confirm that the program is not in the simulator environment, by entering the ls command at the prompt in the console window, and observing that simple is not listed in the directory listing.
- Import the program from the base simulator hosting environment into the
simulator environment by entering the following command:
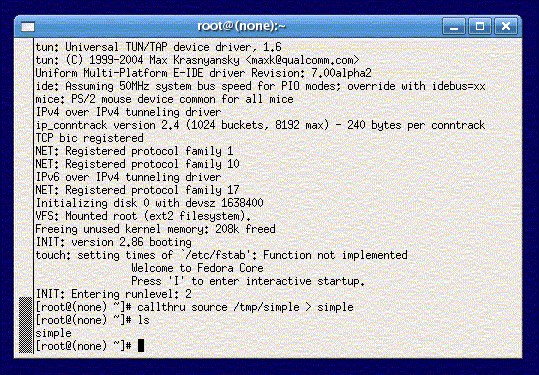
callthru source /tmp/simple > simple
This command tells the simulator environment to "call through" to the simulator hosting environment's /tmp directory, retrieve the file called simple, and copy that file to the simulator file system. If you now enter an ls command in the console window, you will see simple listed in the current directory. Figure 3 shows the process of loading the program into the simulation environment.
Alternatively, one can permanently add or delete files to the sysroot disk image by performing a loop device mount the sysroot disk image and copying or removing files from the mounted image, prior to booting the simulation environment. For example, the following sequence:mount -o loop /opt/ibm/systemsim-cell/image/cell/sysroot_disk /mnt cp /tmp/simple /mnt/simple umount /mnt
copies the simple executable from the host system's /tmp directory to the sysroot's / directory.Even though the file had execute permissions in the base simulator hosting environment, the newly imported file in the emulator environment does not.
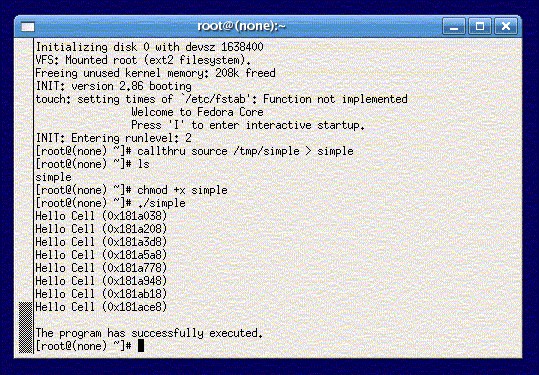
- Add execute permissions to the program file simple by
issuing the following command:
chmod +x simple
- Execute the program by issuing the following command:
./simple